
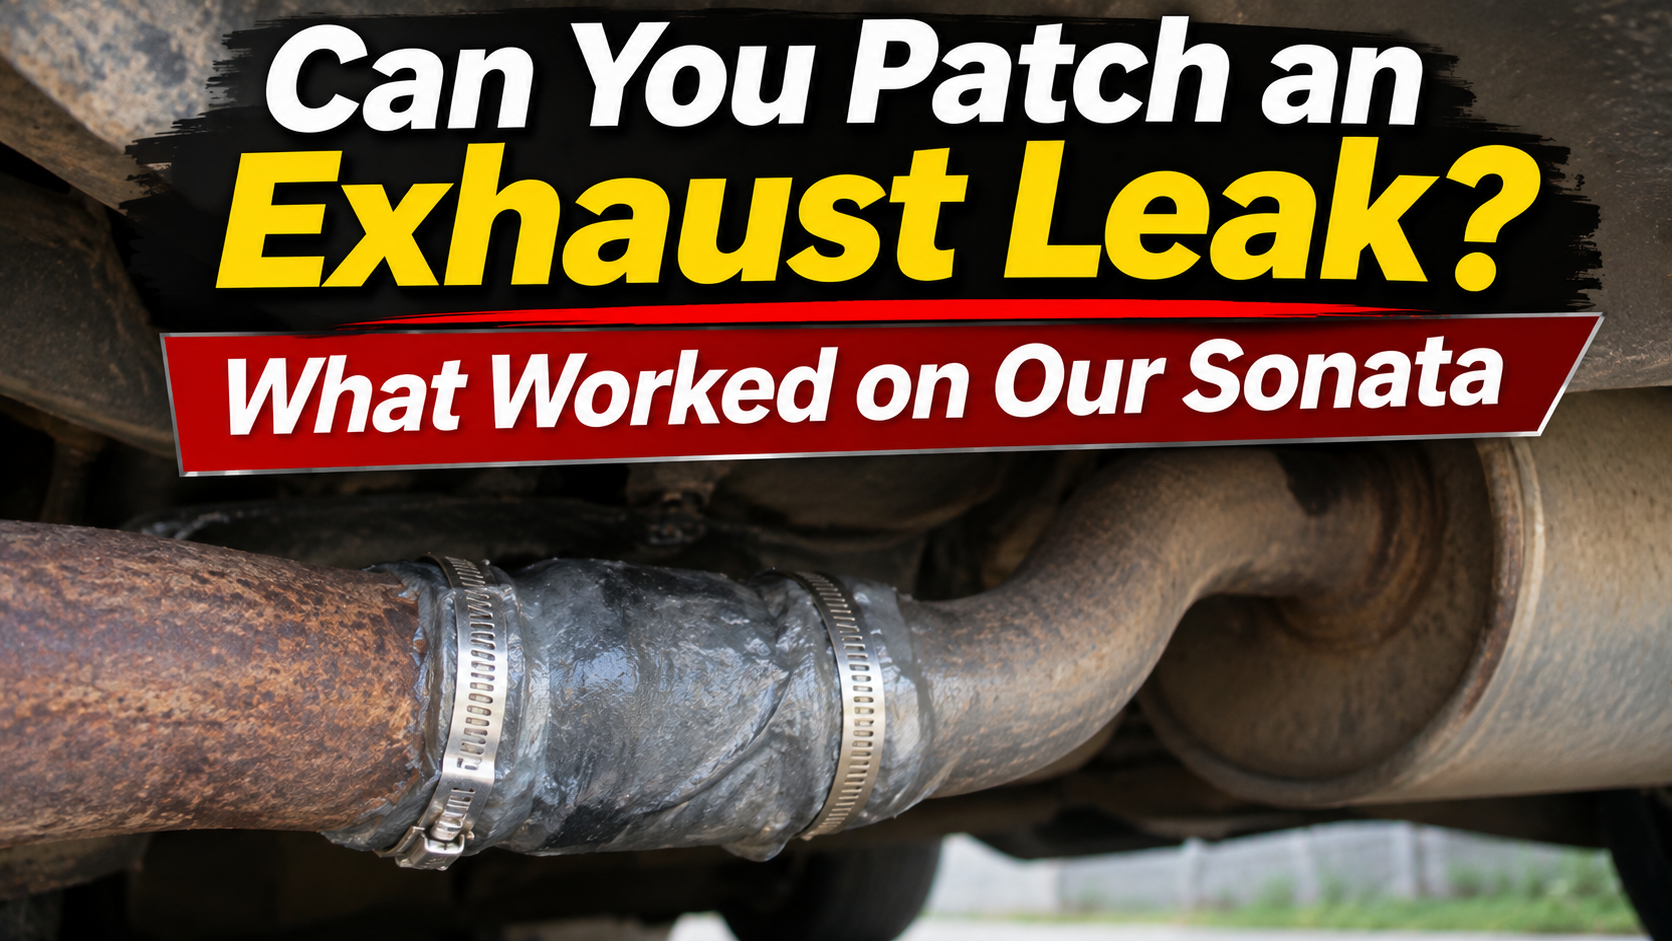
Our 2011 Hyundai Sonata’s exhaust didn’t develop one neat little hole. Rust ate through the connection between a larger section near the back of the car and the long pipe running underneath it. Eventually, it broke clean in half.
I tried to fix it myself. My welds held, but the joint kept bending open. After several attempts, I realized I was working on the break without dealing with the weight and movement of the larger exhaust section behind it.
Part of what had supported that section was broken. I carefully added bolts underneath the car and used a chain as a cradle to bring the exhaust back up where it belonged. Then I kept working on the gap with muffler cement until the leak was much better.
It took more than one try, and I wouldn’t call the result perfect. It is still working, though. Here’s what happened, what helped, and what I’d do differently if I were looking at the same break again.
Our exhaust had broken all the way through
When someone says “exhaust leak,” I picture a pinhole or a crack that might be covered fairly easily. Ours was more than that.
The metal had rusted through at the connection between that larger rear section and the long pipe. The two sides had separated. I had to bring them back together before I could even think about sealing the leak.
I’m describing the larger part the way I saw it under the car. I’m not certain whether its proper parts name is muffler, resonator, or something else on our Sonata. The important detail for this repair is where it broke and what that section was doing to the joint.
That location made it hard to patch. I wasn’t just covering a stationary spot. The rear section still needed to be held in the right position.
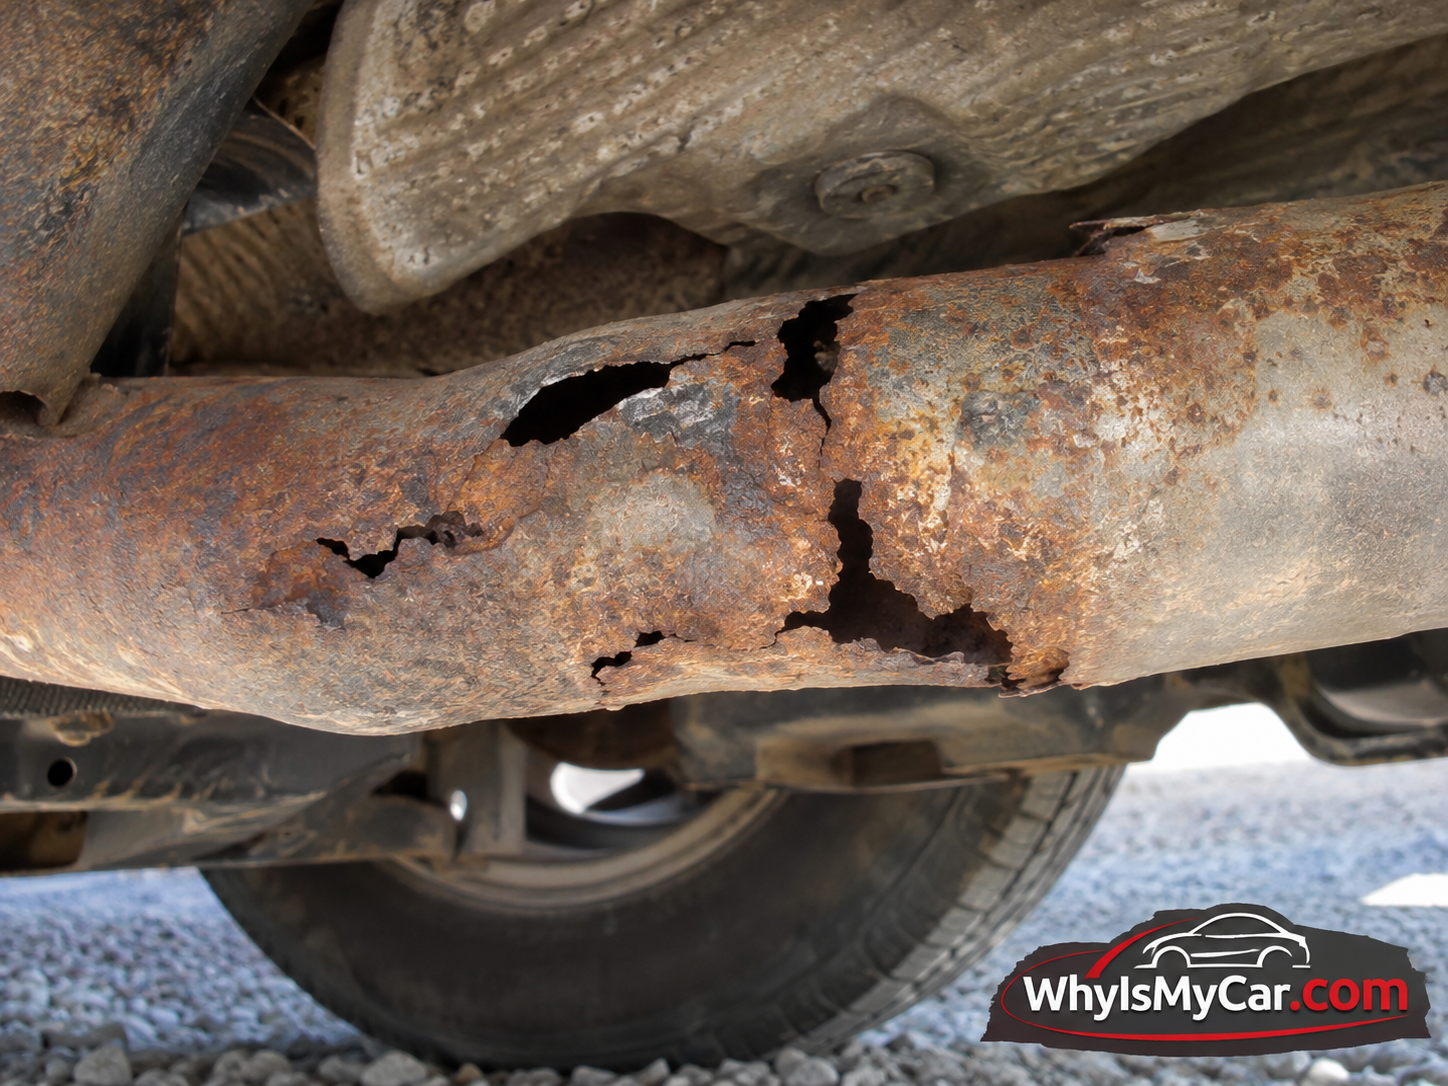
I tried welding it first
I did weld the broken area, and my welds held. For a moment, that seemed like it might be the answer. But to be able to weld that thin crap enough to seal it all the way without melting more was tricky, so I made some of the best welds I could quickly have to move fast when welding this I found out the hard way lol. Then for the gaps left using the tape and the putty for exhaust systems that I mention a little later on in this article that has worked well.
But the connection kept wanting to bend open. That was the frustrating part. I could work on the break and still see movement trying to pull it apart.
I made multiple attempts. Each time, I was dealing with rusted metal in a spot that was already difficult to reach. The weld itself wasn’t the whole problem.
That experience changed how I looked at the repair. If the weight of the rear section kept working against the joint, adding more material to the joint alone wasn’t going to address that pressure.



The broken support was a big part of the problem
Something that had supported the larger rear exhaust section was broken. Without that support, the section wasn’t staying where it should.
Once I noticed that, the repeated bending made a lot more sense. I was asking the repaired connection to help hold up a part of the exhaust that needed its own support.
I carefully added bolts underneath the car and ran a chain under that section to cradle it back up into position. Taking that pressure off gave me a better chance of keeping the broken ends together and working on the remaining leak.
That’s what I did on our old Sonata. I’m not presenting a chain and bolts as the proper exhaust-hanger repair for every vehicle. A hanger needs to keep the exhaust secure without interfering with other parts beneath the car, and I’d have a shop inspect an improvised support if there were any doubt about its placement or strength.
The lesson I took from it is broader than the chain: before sealing a broken exhaust joint, find out whether the exhaust is still properly supported.
Then I worked on sealing the gap
Getting the larger section back into position helped, but the joint still wasn’t perfectly sealed. I used muffler repair material over the break and kept working at the openings where exhaust was escaping.
The product I used for that part was J-B Weld MufflerSeal muffler cement. It’s a thick paste intended for sealing leaks around mufflers and exhaust connections.
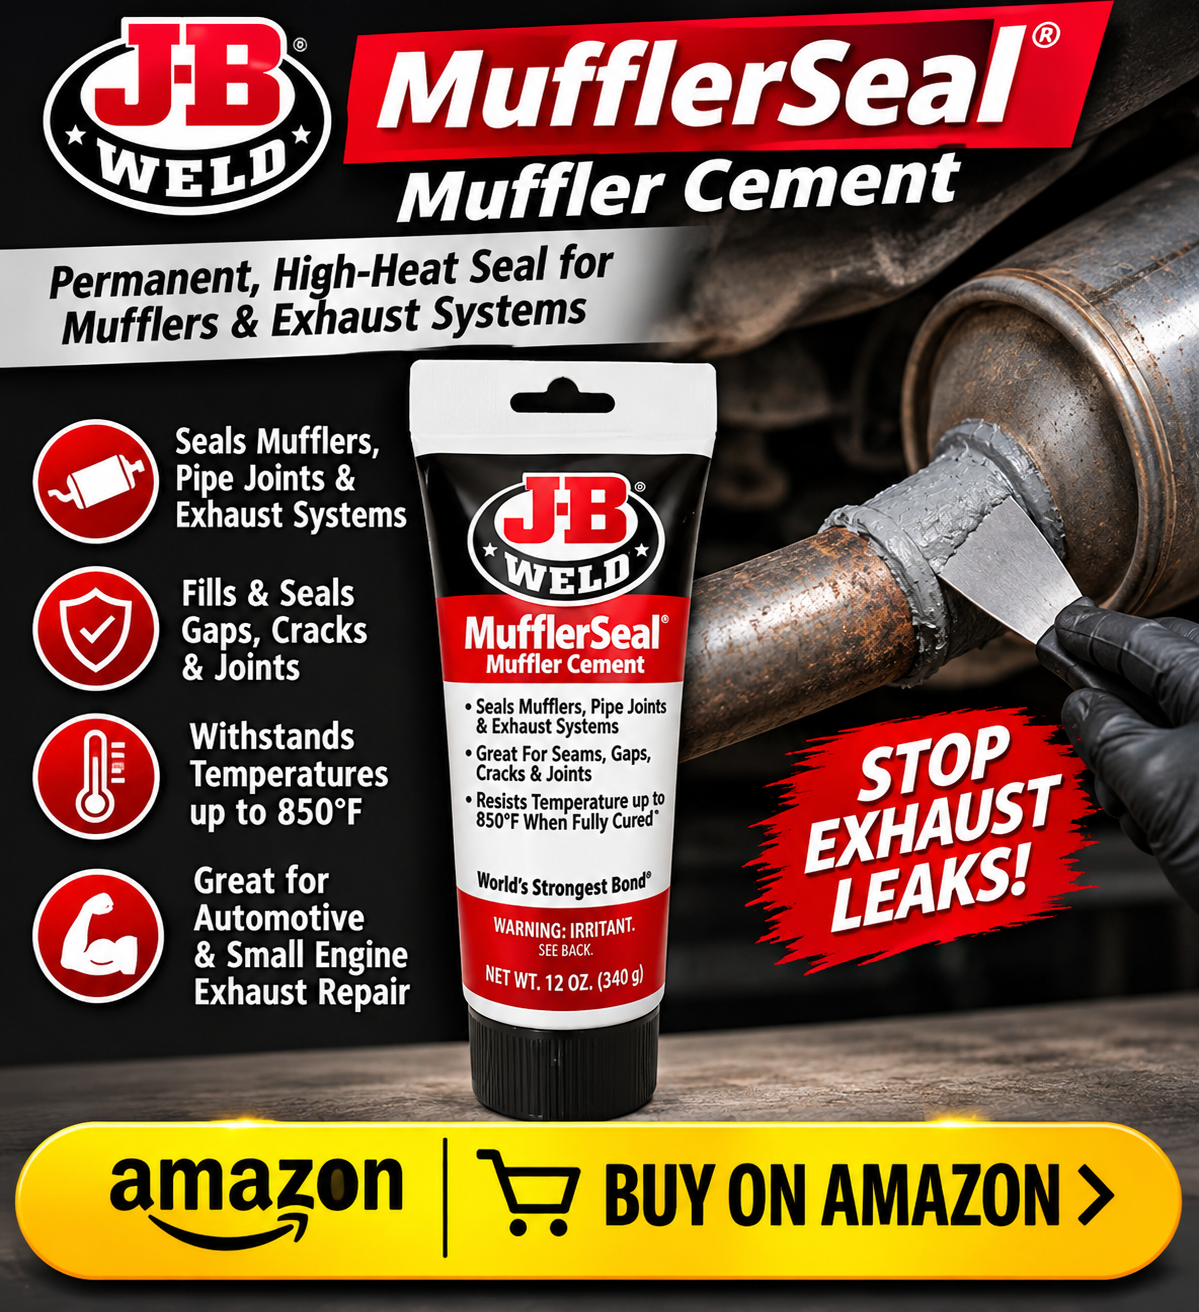
I wish I could say I applied it once and was done. That isn’t how this repair went. I tried more than once, carefully adding material around the troublesome area and checking whether the leak had improved.
It eventually got much better, and the repair is still holding. “Much better” is the honest description. I can’t claim I restored this rusty connection to new condition.
Some product links in this article may earn us a commission if you buy through them.

The other repair wrap I tried
I also tried the J-B Weld FiberWeld Automotive Repair Cast. It’s a fiberglass repair wrap, and I can see why it looks appealing when you’re trying to reinforce a difficult break.
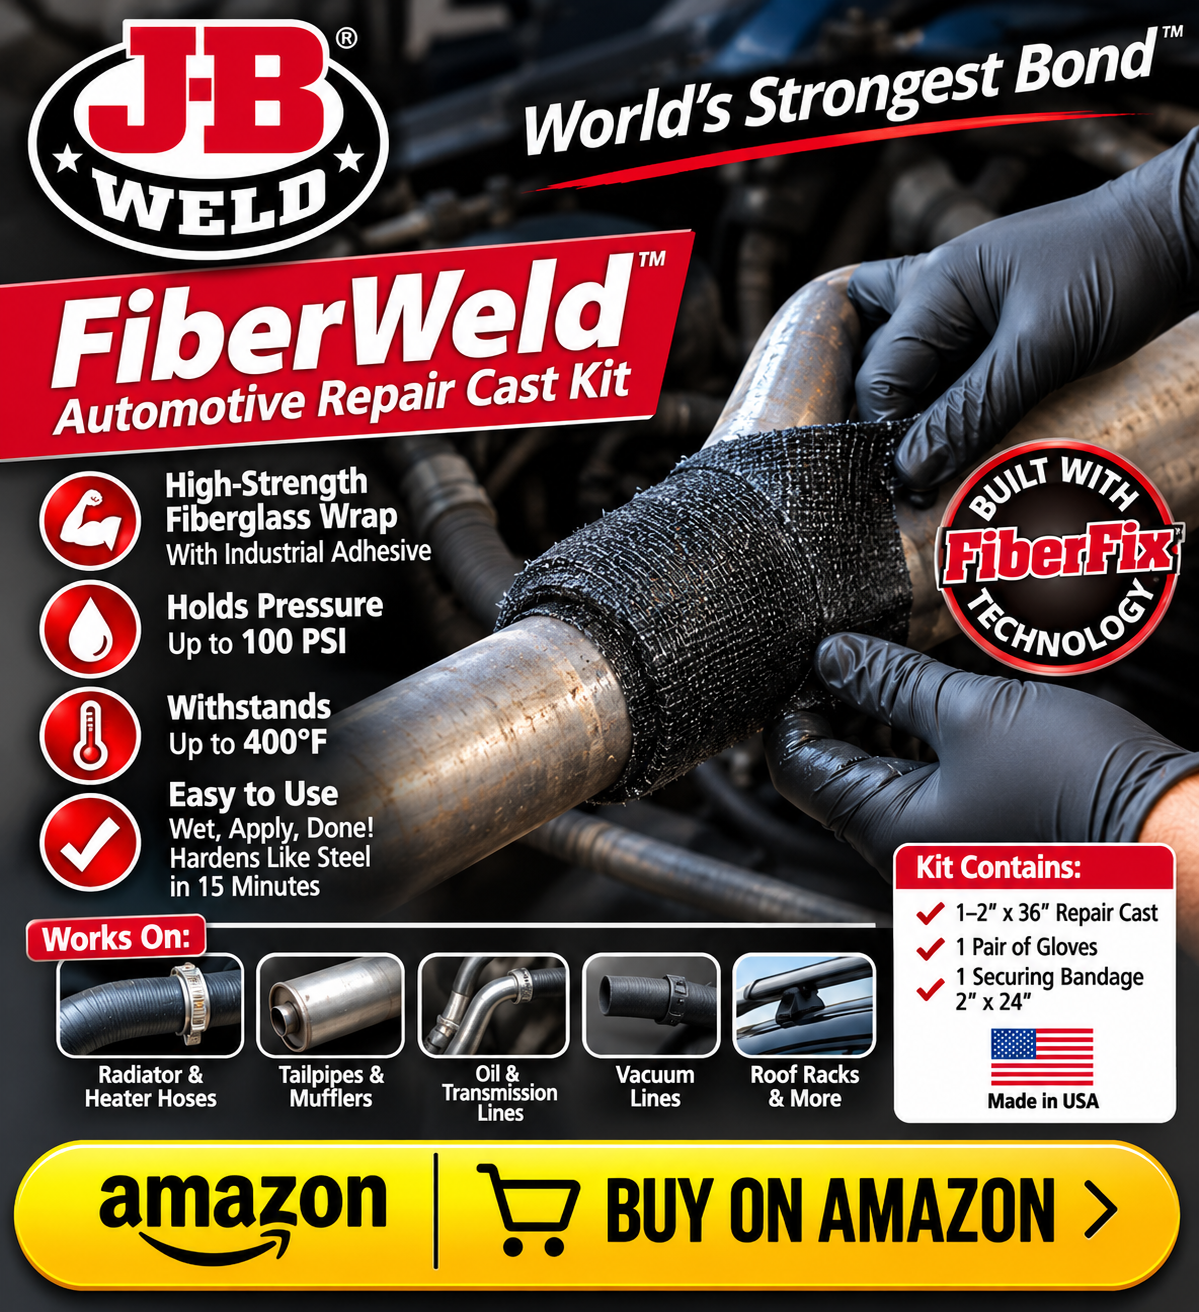
There’s an important detail I learned while checking the exact product number for this article: FiberWeld 38237 is rated by J-B Weld to 400°F. J-B Weld sells other wraps specifically listed for exhaust use, but this particular Automotive Repair Cast is not the one I’d tell someone to buy for a hot exhaust pipe.
I’m including it because it was part of what I tried, not because I can verify that it is suitable for every location on an exhaust system. I also can’t separate out how much that wrap contributed to the result compared with the support, welding, and repeated sealing work.
If you’re shopping for a wrap, check the exact product number and its stated exhaust use and temperature limit. The words “automotive repair” on a package don’t settle that question.
Why the muffler cement wasn’t enough by itself
Looking back, I think the order of the problems matters.
We had a section of exhaust that had broken from rust. We also had a support problem allowing the larger rear part to pull against that break. A paste can help seal a gap, but I wouldn’t expect it to hold two heavy, moving exhaust sections in place by itself.
The MufflerSeal paste I kept applying around the joint became more useful once I had addressed the movement as best I could. It was helping with the leak, while the welding and added support dealt with other parts of the problem.
That’s my reading of what happened on our Sonata, not a controlled test of one product against another. Several things changed over the course of my repair attempts.
If the joint starts opening up again, I’d look at support and movement before assuming another layer of cement is the answer.


Would I try the same repair on another car?
I’d start by looking at how much solid metal remained. Ours was already a hard repair because the exhaust had rusted clean in half. If the nearby pipe were falling apart too, I wouldn’t expect a patch to last just because I managed to cover the visible break.
I’d also locate the exhaust hangers and see whether they were doing their job. That was the piece I didn’t fully appreciate when I started welding ours.
Then I’d decide whether repairing the joint made sense or whether replacing the damaged section would be a better use of time and money. On our Sonata, I chose to keep working on it. Someone facing a similar break may reasonably choose a muffler shop, especially if they don’t have a safe way to lift and support the car or experience welding.
I would not copy my chain setup onto another vehicle without checking everything around the proposed mounting points. Fuel and brake lines, heat, clearance, road movement, and the condition of the metal underneath all matter.
Why I was willing to spend time on this Sonata

We bought this car for about $5,500 when it had roughly 150,000 miles. It went on to reach 300,000 miles in our family, and it has kept running through plenty of smaller problems.
That history affects my choices. I’m willing to put time into a repair if it helps us get more safe use from a car that owes us very little money at this point.
At the same time, low resale value isn’t a reason to ignore a serious exhaust leak. If I thought exhaust was entering the cabin, or if the repaired section looked ready to come loose, I wouldn’t call the job good enough just because the car is old.

That’s the balance I’m trying to strike whenever I consider whether our high-mileage Sonata is worth another repair. I’ll patch something when it makes sense. I also need to know when a part has reached the point where replacement is the safer answer.

What I watch for now that the repair is holding
I listen for the exhaust getting louder again, especially a change around the area I repaired. I’d also take a new rattle or dragging sound seriously because the rear section needs to stay supported.
I wouldn’t rely only on smell. Carbon monoxide in vehicle exhaust has no odor. If anyone in the car develops a headache, dizziness, weakness, or nausea, or if there’s an exhaust smell inside, I’d stop somewhere safe, get everyone into fresh air, and have the car checked.
I’d also want the repaired area inspected if the chain, its mounting points, or the pipe position changes. The fact that it’s working today doesn’t mean I should stop paying attention to a joint that rusted through once already.
What this repair taught me about patching an exhaust leak
A small hole in solid pipe is one kind of repair. Two rusted sections broken apart while a rear support is missing is another.
I spent time welding a joint that kept wanting to bend open. Supporting the larger section took pressure off that spot, and repeated work with muffler cement helped cut down the leak. That combination has kept our Sonata going so far.
If I were explaining the job to someone standing beside the car, I wouldn’t say, “Just buy this tube and smear it on.” I’d show them the broken support first. Without understanding why the joint kept moving, they’d miss the hardest part of our repair.
Did the weld fail?
The welds I made held, but the joint kept bending open. That’s why I had to look beyond the weld and deal with the unsupported rear section.
Did the muffler cement fix it on the first try?
No. I made several attempts with the MufflerSeal cement around the break before I got it to where it is now. It’s much better and still working, but it isn’t perfect.
Would I recommend the same FiberWeld wrap for an exhaust?
I’d be careful with that recommendation. I tried the FiberWeld cast linked here, but its manufacturer lists a 400°F temperature limit and has separate products made specifically for exhaust repairs. I’d check the exact wrap’s instructions and temperature rating before putting one on an exhaust.
Does our repair mean any rusted exhaust can be patched?
No. Ours took welding, a way to support the rear section, and repeated sealing attempts. The amount of sound metal, the location of the break, and whether the exhaust is properly supported all affect whether a patch is worth trying.
About the author: Daxon Weaver owns the 2011 Hyundai Sonata in this article. He made several attempts to repair its rust-broken exhaust, added support for the rear section, and is still watching how the repair holds up.