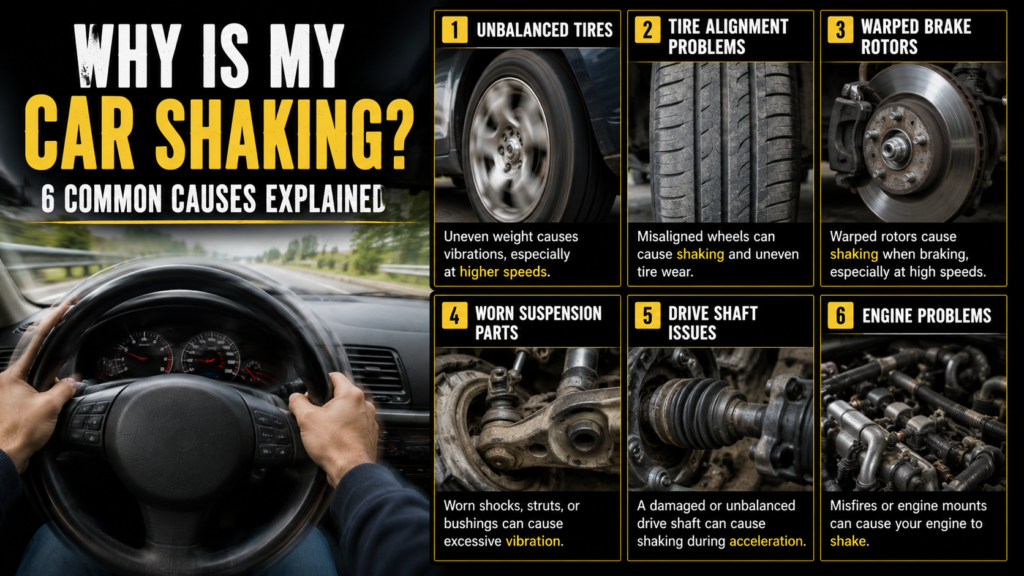
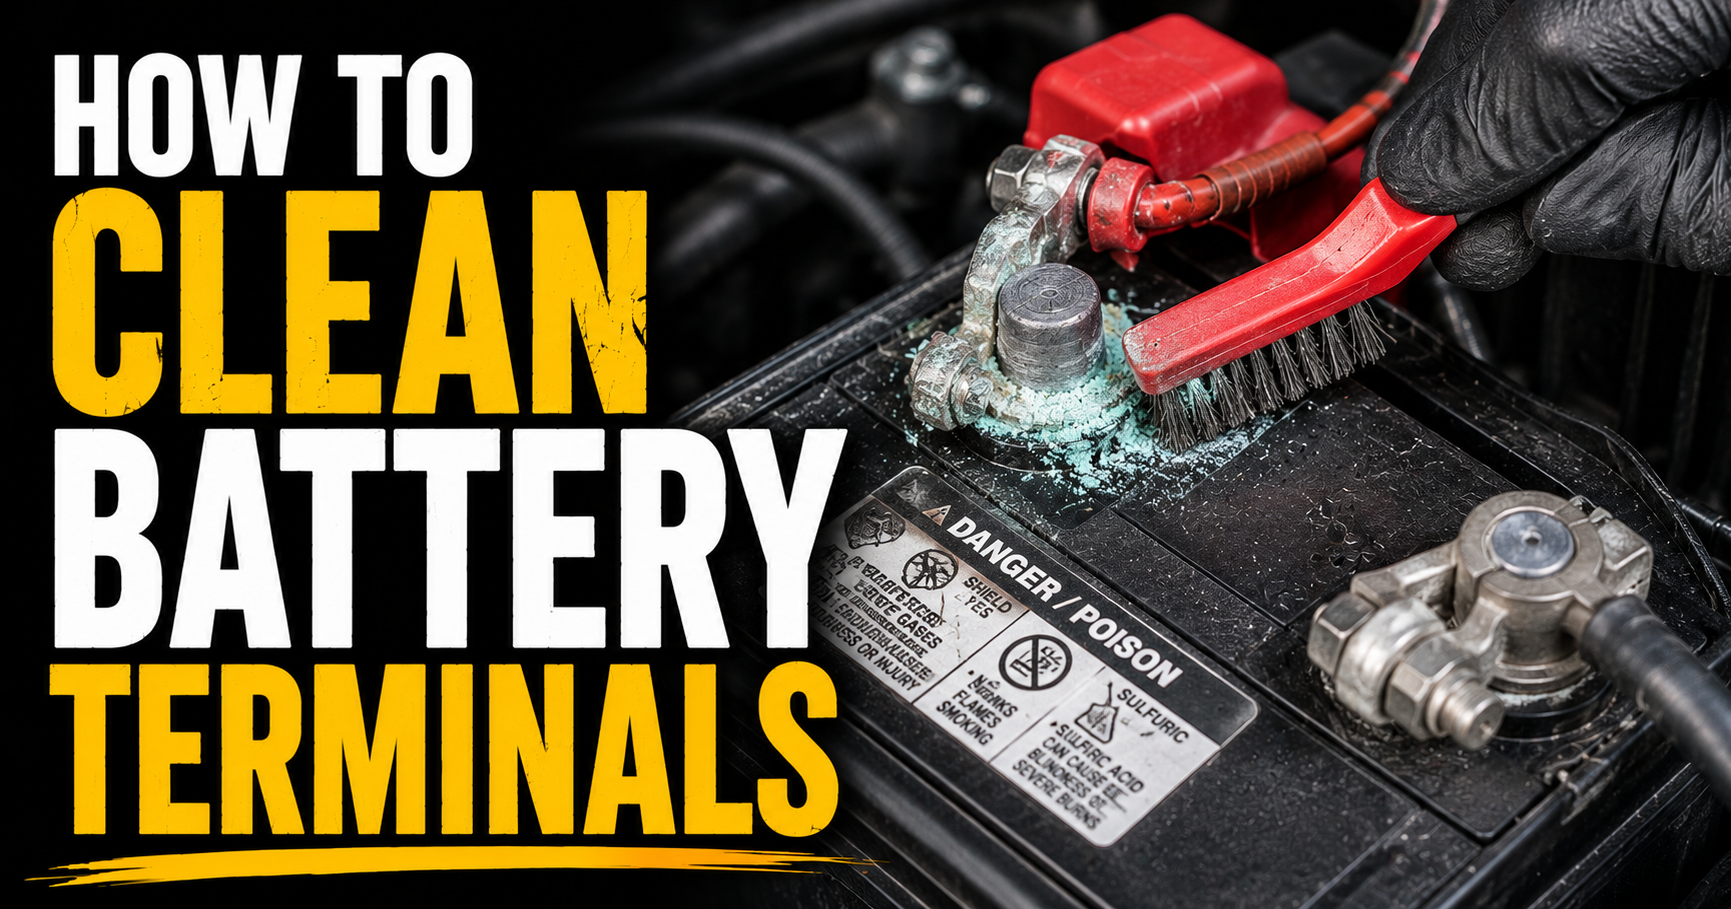
Jump starting a car is one of those skills every driver should know cold — not just the general idea, but the exact steps in the exact order. Connect the cables wrong and you can damage sensitive electronics, blow a fuse, or in rare cases cause a battery to vent explosive hydrogen gas. Connect them right and the whole process takes about five minutes.
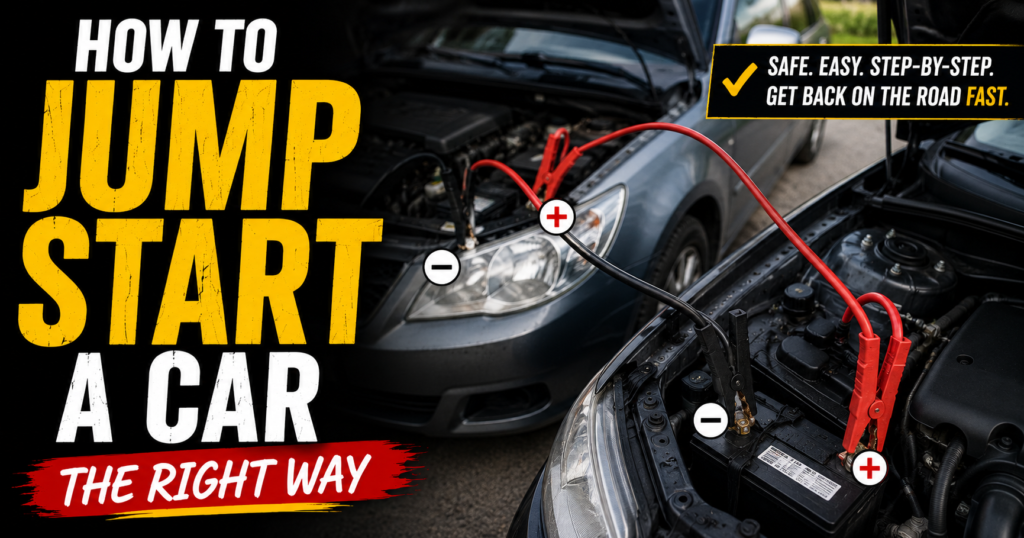
This guide covers jump starting with traditional jumper cables and with a portable jump starter — both methods, done correctly, with the mistakes that trip people up called out specifically so you don’t make them.
Quick Answer: Connect red to dead positive, red to good positive, black to good negative, black to unpainted metal ground on the dead car — never to the dead battery negative. Start the good car, wait two minutes, start the dead car. Remove cables in reverse order. Drive for at least 30 minutes to recharge.
What You Need Before You Start
For traditional jump starting you need jumper cables and a second vehicle with a working battery. Cables should be at least 10–12 feet long and 6-gauge or heavier — thin, cheap cables can’t carry enough current to start larger engines and get hot during the process. If your cables are the thin ones that came in a roadside kit years ago, consider upgrading.
The better option for most drivers is a portable jump starter. The NOCO Boost GB40 delivers 1000 amps of jump starting power and fits in a glove box — no second vehicle needed, no flagging down strangers, no waiting. If you don’t own one yet, our full NOCO GB40 review explains exactly why it’s the smartest roadside investment any driver can make.

Jump Starting With Jumper Cables — Step by Step
The order of connection matters. This isn’t arbitrary — it’s designed to prevent sparks near the battery and protect both vehicles’ electronics.
Step 1: Position the vehicles. Pull the working vehicle close enough that the cables reach both batteries comfortably — ideally nose to nose or side by side. The vehicles should not be touching each other.
Step 2: Turn both vehicles off. The working vehicle should be off before you connect anything.
Step 3: Identify the terminals. Both batteries have a positive terminal marked with a + sign and typically a red cover, and a negative terminal marked with a − sign and typically a black cover.
Step 4: Connect red to dead positive. Clamp one red cable end to the positive terminal of the dead battery.
Step 5: Connect red to good positive. Clamp the other red cable end to the positive terminal of the working battery.
Step 6: Connect black to good negative. Clamp one black cable end to the negative terminal of the working battery.
Step 7: Connect black to unpainted metal on the dead car — NOT the dead battery. This is the step most people get wrong. Clamp the final black cable end to an unpainted metal surface on the dead vehicle’s engine block or chassis — a bolt head, a bracket, the strut tower. Not the negative terminal of the dead battery. This prevents a spark near the battery where hydrogen gas can accumulate.
Step 8: Start the working vehicle. Let it run for 2–3 minutes to push some charge into the dead battery before attempting to start the dead car.
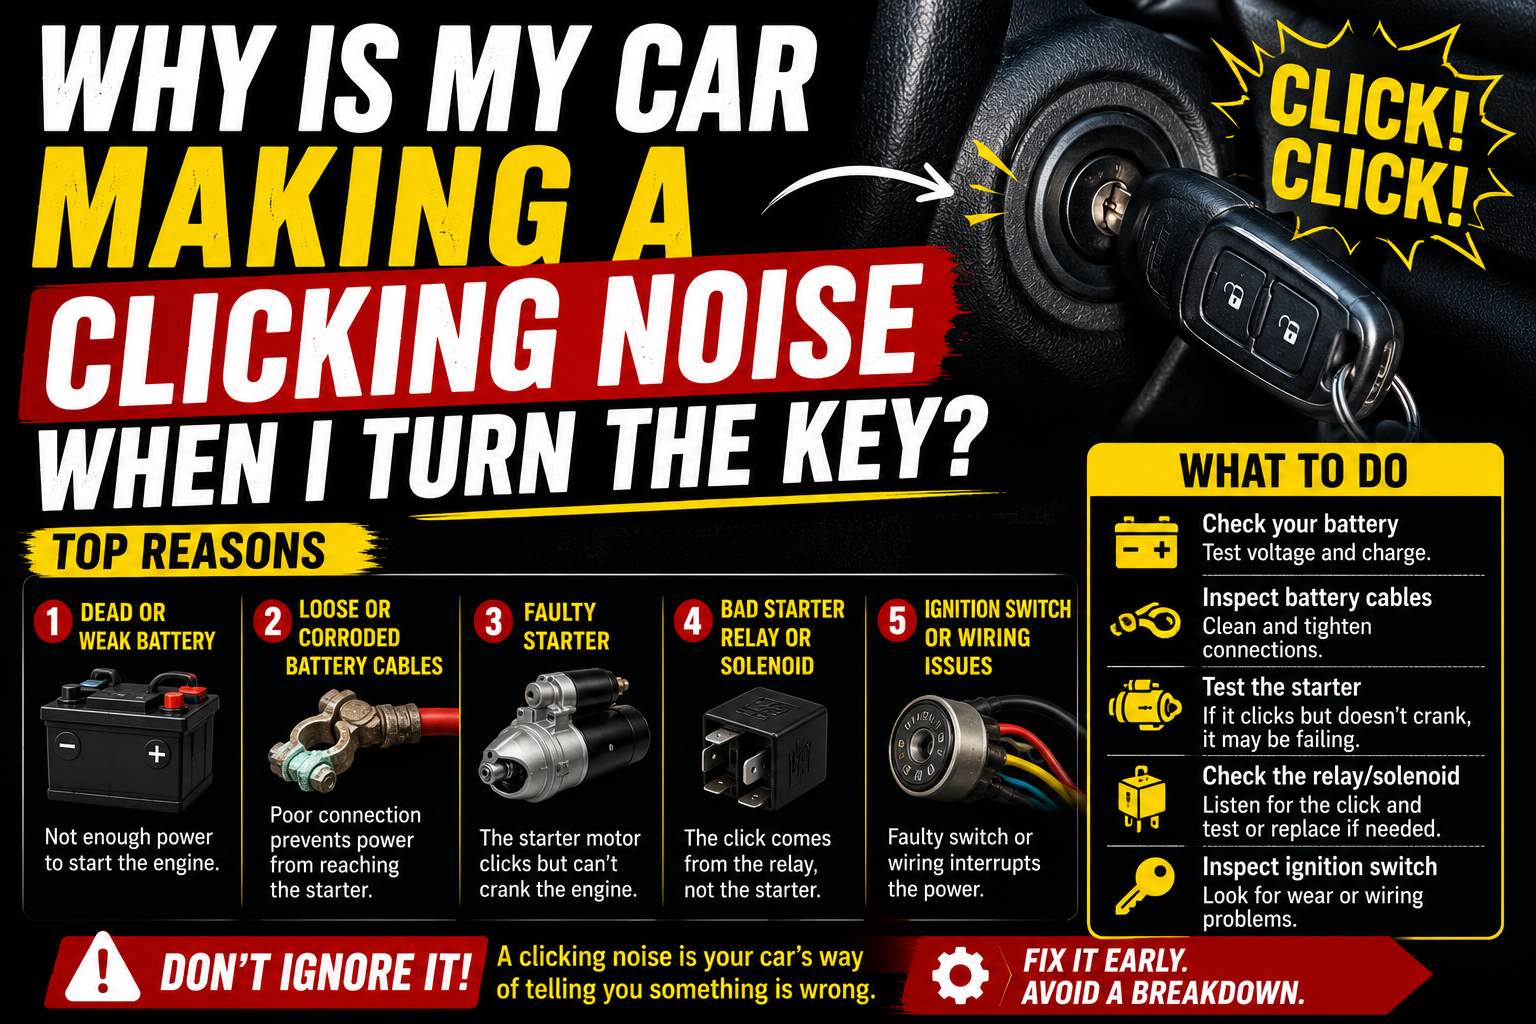
Step 9: Start the dead vehicle. If it starts, great. If it cranks slowly but doesn’t start, let the working car run another 3–5 minutes and try again. If rapid clicking persists, see our guide on why your car clicks but won’t start — the issue may be more than just a dead battery.
Step 10: Remove cables in reverse order. Black from ground on previously dead car first. Black from good battery negative. Red from good battery positive. Red from previously dead battery positive.

Jump Starting With a Portable Jump Starter
A portable jump starter is faster, safer, and doesn’t require a second vehicle. The NOCO GB40 specifically has spark-proof connections and reverse polarity protection — if you connect the clamps backwards it simply won’t work rather than sending a damaging surge through your electrical system.
Step 1: Make sure the jump starter is charged. Check the indicator before you need it — not when you’re stranded.
Step 2: Connect the red clamp to the positive battery terminal. Connect the black clamp to the negative terminal or a metal ground point away from the battery.
Step 3: The indicator light shows green if connected correctly. Red means reverse polarity — swap the clamps.
Step 4: Turn on the jump starter and attempt to start the vehicle normally.
Step 5: If the battery is completely dead — zero voltage — hold the boost button for 3 seconds to activate override mode before starting.
Step 6: Once the engine starts, remove clamps — black first, then red — and disconnect the jump starter.
What To Do After a Successful Jump Start
Getting the car started is only half the job. Now you need to figure out why the battery died and whether it’ll happen again.
Drive for at least 20–30 minutes. The alternator recharges the battery while the engine runs. Short trips after a jump start don’t give the alternator enough time to fully recharge — shut the car off too soon and you may not be able to restart it.
Test the battery and alternator. Most auto parts stores test both for free. Or use a battery tester at home — the ANCEL BA101 tells you in two minutes whether your battery is healthy or needs replacement and whether your alternator is charging correctly.
Check for a parasitic draw. If the battery died overnight without an obvious reason like leaving lights on, something may be draining it while the car sits. Our full guide on why car batteries drain walks through finding and fixing a parasitic draw step by step.

Mistakes That Damage Your Car During a Jump Start
Connecting in the Wrong Order
Always connect positive first, then negative. Always disconnect negative first, then positive. This sequence minimizes the chance of a spark occurring near the battery terminal where hydrogen gas can accumulate.
Connecting the Final Black Clamp to the Dead Battery Negative
The most common mistake. Connecting the final clamp to the dead battery negative creates a spark risk right next to the battery. Connect to unpainted metal on the engine block or chassis instead — a bolt head, a bracket, anything metal that’s not the battery itself.
Letting the Cables Touch Each Other
Red and black cable ends touching each other while connected to a battery creates a short circuit. Keep the free ends separated at all times during the connection process.
Trying to Jump a Cracked or Frozen Battery
A battery with a cracked case or one that’s frozen solid should not be jump started. A cracked battery can leak acid and a frozen battery can rupture under the pressure of charging current. Inspect the battery before connecting anything — if it looks physically damaged, tow the vehicle rather than jumping it.
Revving the Engine to Charge Faster
Revving the working engine doesn’t meaningfully speed up the charge transfer to the dead battery and puts unnecessary load on the alternator. Let it idle or run at normal speed.


When a Jump Start Won’t Work
Sometimes a jump start doesn’t get the car running no matter how long you wait. A few reasons this happens.
The battery is completely failed — not just discharged but internally dead with a bad cell. A battery in this state won’t accept a charge and won’t start the car regardless of how long you try. It needs to be replaced before the car will start.
The starter has failed. If jumping gives you a single loud click rather than rapid clicking or cranking, the problem isn’t the battery — it’s the starter. See our guide on what different clicking sounds mean when starting your car.
The cables or jump starter don’t have enough capacity. Thin jumper cables on a large engine — a V8 truck or diesel — may not deliver enough current. Make sure your cables or jump starter are rated for your engine size.
Keeping Yourself Safe During a Jump Start
Battery acid is corrosive and battery hydrogen gas is flammable. A few simple precautions eliminate essentially all the risk.
Don’t jump start near an open flame or while smoking. Keep your face away from the battery during connection — wear safety glasses if you have them. If the battery looks swollen, cracked, or is leaking, don’t attempt a jump start — have the vehicle towed. Work in a ventilated area rather than an enclosed garage when possible.
Modern batteries are sealed and don’t vent gas under normal circumstances — but a battery that’s been deeply discharged or overcharged can produce hydrogen, which is why the ground connection on the dead car goes to the engine block rather than the battery terminal.
Frequently Asked Questions
Can jumping a car damage the electronics?
If done correctly — right order, right connections — jump starting is safe for modern vehicle electronics. Connecting backwards or causing a large spark near sensitive modules can cause damage, which is why order of connection and the ground-to-metal-not-battery rule matter. Portable jump starters with reverse polarity protection like the NOCO GB40 are specifically designed to prevent this.
How long should I let the good car run before starting the dead one?
Two to three minutes is sufficient for a battery that’s discharged but otherwise healthy. If the battery is very deeply discharged or old and weak, five minutes gives it a better chance of starting. If it still won’t start after several attempts, the battery may need replacement rather than a jump.
My car started after a jump but died again immediately — why?
The battery is too far discharged or too failed to sustain the engine once the jump starter is disconnected. The battery needs to hold enough charge to power the ignition system and fuel injectors while the alternator builds output. A battery that won’t hold any charge needs replacement, not repeated jumping.
Can I jump start a car with a completely dead battery?
Yes, but it takes longer. A completely dead battery needs more time to accept enough charge to start — give it 5–10 minutes with the working car running before attempting. Portable jump starters with override modes handle completely dead batteries better than standard jumper cables in most cases.
Is it bad to jump start a car frequently?
Frequent jump starting is a symptom that the underlying problem — a failing battery, a parasitic draw, or an undercharging alternator — hasn’t been fixed. Jump starting itself doesn’t damage a healthy battery, but if you’re doing it regularly, the battery and charging system need to be tested and the root cause addressed.
About the Author: Ryan Fowler
Ryan is a former fleet mechanic who spent twelve years maintaining commercial vehicles before transitioning to writing about automotive issues for regular drivers. He’s worked on everything from economy sedans to full-size diesel trucks and has a particular obsession with electrical gremlins that make no sense until suddenly they do. Ryan contributes to WhyIsMyCar.com because most car content online is either too technical or too vague — he aims for the middle ground where people actually learn something.
As an Amazon Associate we earn from qualifying purchases through some links in our articles. Learn more.