I like a wiring diagram that I can understand without tracing twenty wires across the page. This one is about as simple as it gets: a 12V power source, a fuse, a toggle switch, and a small LED light.
If you want to add a light in a truck bed, cargo area, or another spot where the factory lighting falls short, that basic circuit can help you understand what needs to happen. It also brings up a question I would ask before connecting anything to my own vehicle: Will this light still be able to run after I turn the key off?
The 12V outlet in my 2015 GMC Sierra stays powered with the truck off. Seeing that in my own truck made the difference between constant power and key-switched power a lot more real to me. A toggle switch gives you control, but if you forget a light wired to constant power, the battery is still supplying it.
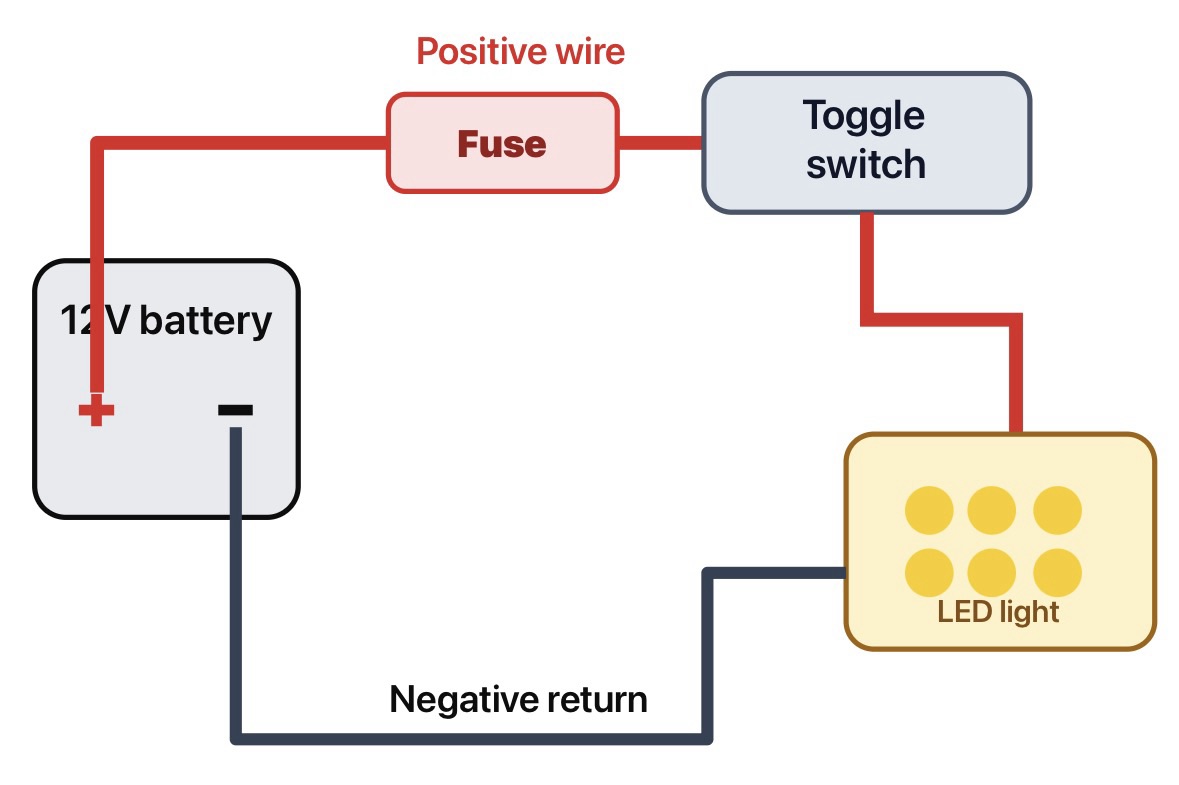
The simple wiring path
For one small 12V LED accessory light, the positive side follows the path in the diagram below. Power leaves the 12V source, passes through an inline fuse, goes into the toggle switch, and then reaches the light. The light’s negative wire completes the circuit through an appropriate negative return or ground.
When the switch is off, the positive path is open and the light goes out. Flip the switch on, and the path is complete.
This drawing is a good way to understand the circuit before touching a wire. It does not tell you which terminal on a particular vehicle to use, what fuse size to buy, or whether a particular switch can handle your light. Those details depend on the parts and vehicle.
What each part is doing
The 12V source supplies the power. That might be a suitable battery connection or an accessory circuit designed to support the added load. “12V” describes the vehicle’s nominal electrical system. Voltage can be higher while the engine is running and the charging system is working, so use a light and switch intended for automotive use.
The fuse protects the added wiring. If the positive wire rubs through and shorts against metal, you want the fuse to interrupt the circuit. That is why it goes near the point where the new positive wire gets power, before that wire travels through the vehicle. Littelfuse’s guide to automotive circuit protection explains why putting a fuse near the battery protects more of the wire.
The toggle switch controls the light. With a basic two-prong on/off switch, one terminal receives fused positive power and the other sends positive power toward the light. The light’s negative wire does not need to run through that basic switch.
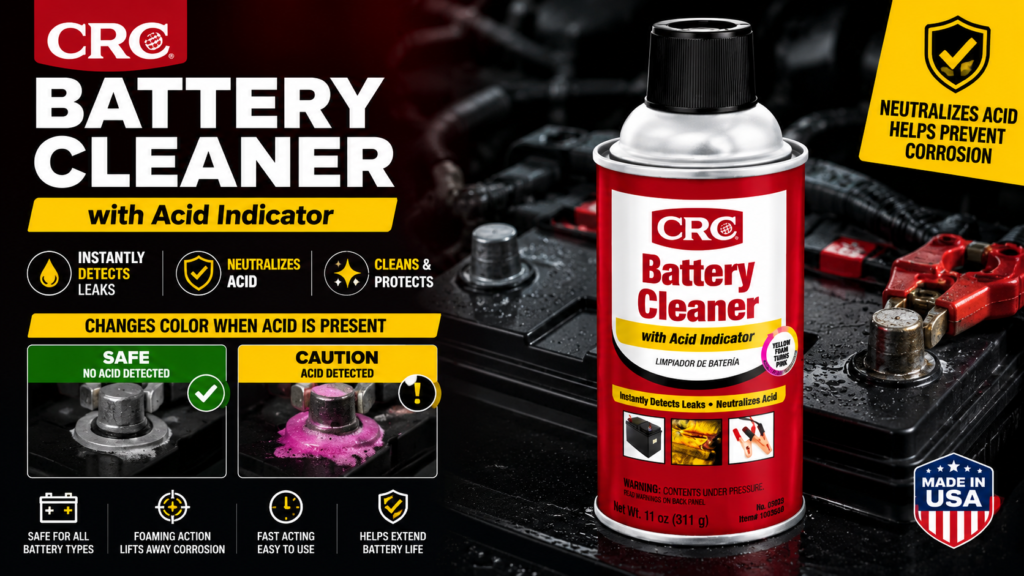
The negative return completes the circuit. Depending on the light kit and vehicle, that may be a specified ground point or a negative return wire. I would follow the light maker’s instructions here, especially on a newer vehicle with battery-monitoring equipment, rather than assuming any nearby piece of metal is a good connection.


Can I connect the light directly to the car battery?
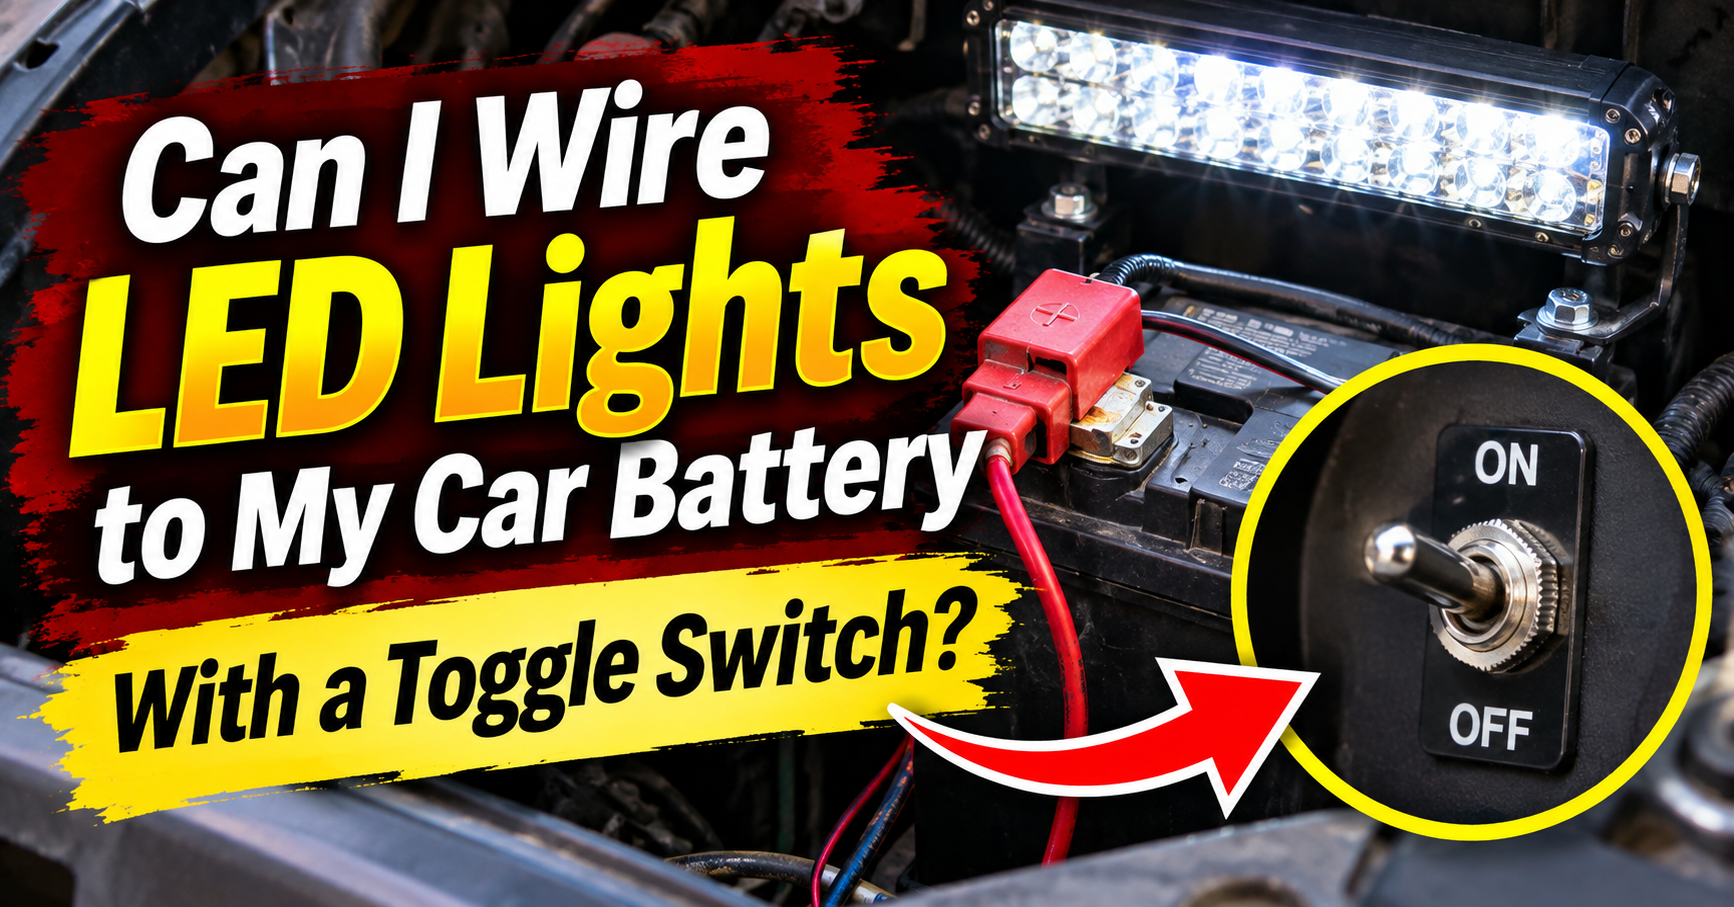
You can power a suitable accessory light from a vehicle battery if the new circuit is properly fused, wired, and switched. “Directly to the battery” should never mean an unfused wire running from the positive terminal all the way to a light.
A battery connection is typically always live. The toggle switch can turn the light off, but the truck will not turn it off for you when you remove the key. That may be exactly what you want for a bed light while loading something with the engine off. It also means you need to remember to switch it off.
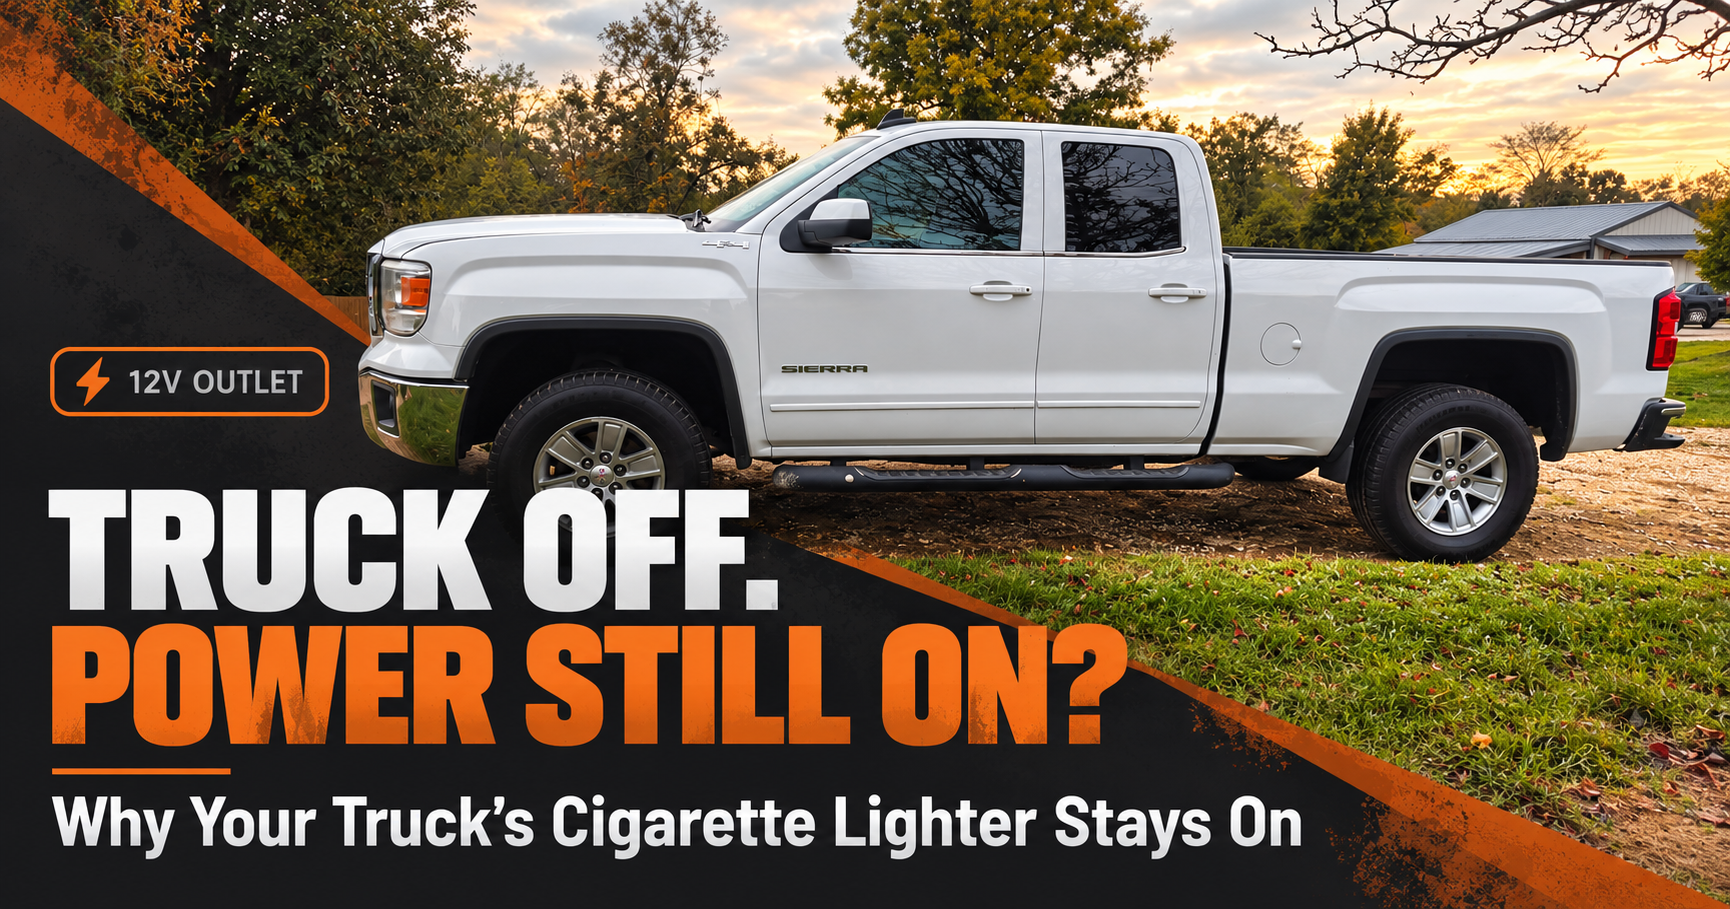
If you want the light to lose power automatically when the vehicle is off, a suitable key-switched accessory source or a properly designed relay setup may fit better. You have to verify how that particular circuit behaves. My Sierra is a good reminder not to guess: I wrote about why its cigarette lighter outlet stays powered after I shut the truck off because I checked it and found that it really does.

How does a two-prong toggle switch connect?
A plain two-prong on/off switch is the easy version to picture. The fused positive wire comes to one prong. A second wire leaves the other prong and goes to the LED light’s positive lead.
That is what the toggle switch represents in the diagram. The switch opens or closes the positive path.
Before attaching wires, I would check the markings and instructions on the actual switch. “Two prongs” tells you a lot, but it does not tell you its current rating or confirm that it is the right type for the job. Automotive parts supplier JEGS shows the basic power-in and power-out arrangement in its explanation of two-prong toggle switches.
A three-prong illuminated switch is a different job. Its extra terminal may power the little lamp inside the switch, or the switch may have a different switching function altogether. I would not put three-prong switch instructions into this simple diagram and assume the terminals mean the same thing on every model.
What size fuse and wire do I need?
I would choose the light first, then read its wattage or current rating and installation instructions. The fuse needs to suit the light and protect the wire used for the entire run. Wire size also depends on how much current it carries, how far it runs, and where it is routed.
For a rough example, an 18-watt light at 12 volts works out to about 1.5 amps using watts divided by volts. That calculation helps you understand the load. It is not a universal instruction to grab a particular fuse or wire gauge. The light maker may specify a fuse, and the wire still needs to be able to handle that protected circuit.
I would not put in a larger fuse just because the first one blew. A blown fuse can be telling you about a short, damaged wire, incorrect connection, or more load than the circuit was built to carry. Making the fuse bigger without finding the problem takes away the protection you added it for.


Where would I put the switch in a car or truck?
Somewhere I can reach it without hunting for it, and somewhere it will not get bumped on by cargo or a knee. For a truck bed light, that might mean a protected spot near the bed rather than a long wire run to a dashboard switch. The location depends on how you actually plan to use the light.
The wire route matters as much as the switch location. A wire run through a truck bed or engine compartment can encounter sharp metal, heat, water, and vibration. It needs proper protection and secure connections. If a wire must pass through sheet metal, it needs an appropriate protected opening. I would not squeeze bare or poorly protected wire past a sharp edge just because the light worked during a quick test.
There is also an easier option worth checking before making a new circuit. Some lighting kits offer a plug-in power adapter or a vehicle-specific harness. Those can make more sense if you only need a small light occasionally. Just remember that a plug-in light can also stay powered when the outlet stays live, as mine does.
Do I need a relay?
For the single small LED light shown in this diagram, a relay is not automatically required. The switch can carry the light’s current if it is properly rated for that DC circuit and the rest of the wiring is sized and protected correctly.
A larger light bar, multiple lights, or a long run to a dashboard switch is a different situation. A relay lets the small dashboard switch control a separate power path to the lights. If I were adding a substantial light bar, I would use instructions or a wiring harness designed for that light instead of pretending this one-light drawing covers it.
The same goes for factory headlights. They may involve high and low beams, relays, modules, and vehicle-specific controls. This diagram is for an added accessory LED light. It is not a fix for factory headlights that stopped working.

What if I want to run two LED lights from the same switch?
The basic idea still helps, but you must count both lights’ current draw, check the switch rating, and size the wiring and protection for the whole setup. The lights would normally be connected as branches after the switch, with each light getting the proper positive and negative connections described by its manufacturer.
That is the point where I would stop relying on this picture alone. It shows one light. The moment you add branches, a long wire run, an illuminated switch, or a relay, your real installation needs a diagram that shows those parts.
Why would the light drain my battery if I have a switch?
A switch only saves power when it is off. If the circuit comes from constant battery power and the switch is left on, the light can keep drawing power after you park.
How quickly that becomes a problem depends on the light’s actual draw, the battery’s condition, the weather, and how long it stays on. A tiny LED and a large light bar are not the same load. I would check the light’s specifications before trying to estimate hours from a generic chart online.
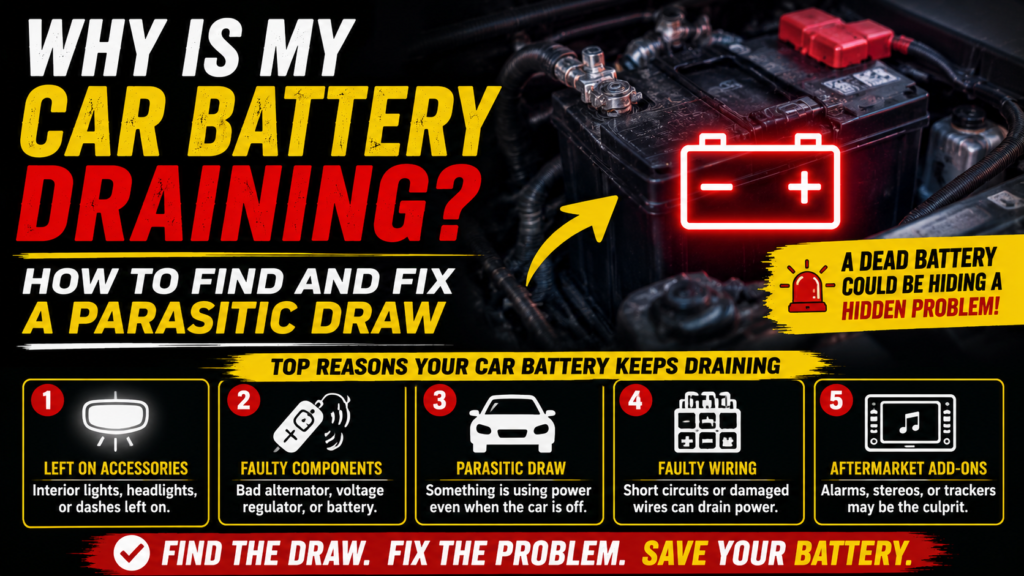
If a vehicle starts needing jump starts after an accessory installation, I would check whether that accessory can remain on with the key off and whether it is drawing power when it should not. I cover the broader process in my guide to finding a car battery drain. A battery problem can have other causes too, so the timing of a new installation is a clue, not a diagnosis.

What I would check before using this diagram on my vehicle
First, I would confirm the light really is intended for a vehicle’s 12V electrical system. Then I would read the light and switch instructions, check the current draw, choose wiring and a fuse that suit that circuit, and decide whether I want constant power or power that shuts off with the key.
I would also trace the entire wire route before connecting power. Where will the fuse holder sit? Can the wire rub against metal? Will the connection get wet? Is the ground point actually suitable? Those questions are less exciting than flipping the switch for the first time, but they are the difference between a tidy installation and a future electrical headache.
Can I use this diagram to wire a golf cart headlight?
Only if the light is receiving a suitable 12V supply and the rest of the installation matches the light and cart instructions. The diagram shows a 12V circuit. It does not show how to turn a 36V or 48V golf cart battery pack into 12V power, and it does not show a vehicle-specific factory light harness.
Can I use it for my car’s regular headlights?
No. I would use it to understand one added 12V LED accessory light. If the original headlights do not work, diagnose the factory system instead of bypassing it with this drawing.
Should the fuse go before or after the switch?
On the positive feed, near the power source and before the long wire run to the switch and light. That way, the added wire has protection if it shorts along the route. The exact installation still needs to follow the equipment instructions and suit the vehicle.