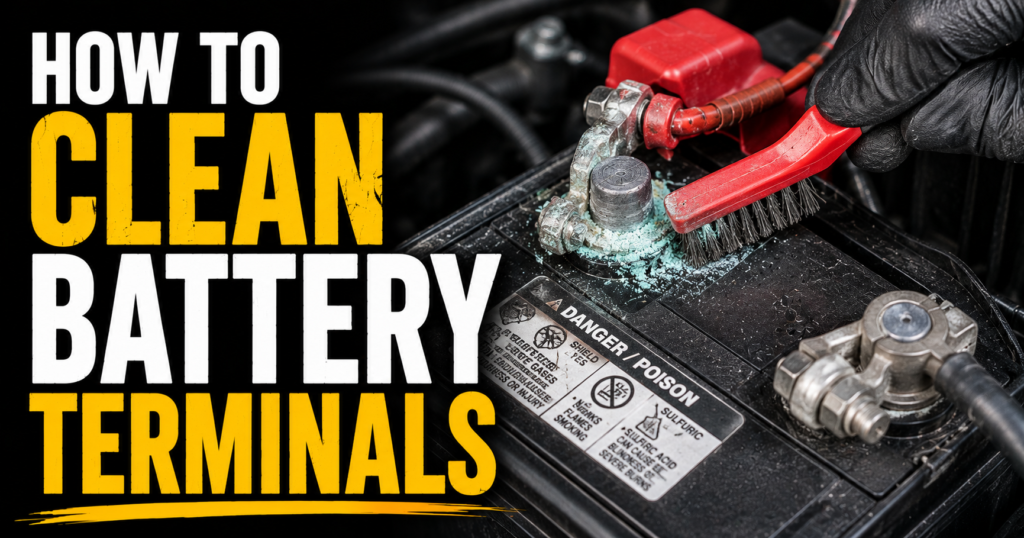
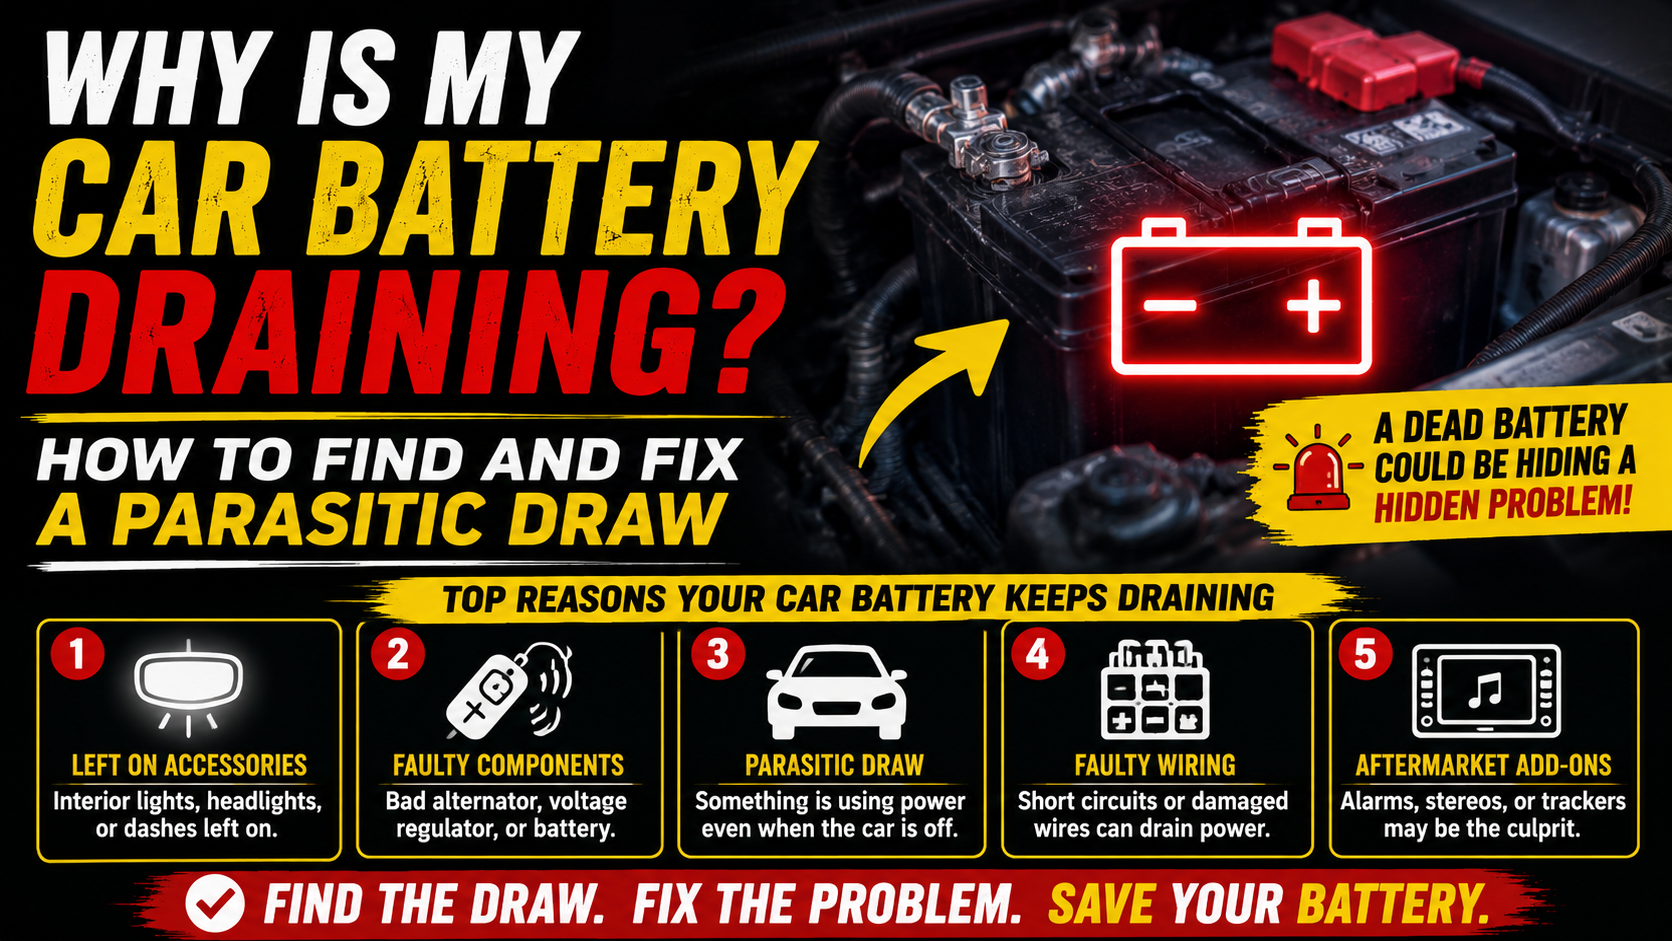
Battery terminal corrosion is one of the most common causes of electrical problems that mechanics see — and one of the easiest to fix at home in under ten minutes. That white or blue-green crusty buildup on your battery terminals isn’t just ugly. It’s actively resisting the flow of electricity between your battery and every system in your car. Slow cranking, flickering lights, hard starting, and mysterious electrical gremlins all disappear when you clean the terminals properly.
This guide walks through exactly how to clean battery terminals the right way — the tools you need, the steps in the right order, and how to slow the corrosion from coming back.
Quick Answer: Disconnect negative cable first, then positive. Spray terminals with battery cleaner, scrub with a terminal brush, rinse, dry, reconnect positive first then negative. Apply dielectric grease or anti-corrosion washers to slow future buildup. The whole job takes under 10 minutes and can solve a surprising number of electrical complaints instantly.
Why Battery Terminal Corrosion Is a Bigger Deal Than It Looks
The connection between your battery terminals and cable ends is where electricity flows in and out of the battery. Every amp your starter draws, every watt your headlights consume, every milliamp your ECU uses — all of it passes through those two connection points.
Corrosion is a poor conductor. Even a thin layer of that white or blue-green crust significantly increases resistance at the connection point. More resistance means less current delivery — which translates to slower cranking, dimmer lights, and electrical systems that don’t get the voltage they need to operate correctly.
The connection between battery corrosion and seemingly unrelated electrical problems surprises a lot of drivers. A car that cranks slowly, a starter that clicks once instead of engaging, an alternator that seems to undercharge, power windows that move slowly — all of these have been fixed by nothing more than cleaning the battery terminals. It’s the first thing to check before replacing any electrical component.


What You Need
You don’t need much. A can of battery terminal cleaner spray with acid indicator is the fastest and most effective cleaning agent — it neutralizes the sulfuric acid in the corrosion and changes color to show you where acid is present. A battery terminal brush kit gives you the right tool for scrubbing both the terminal posts and the inside of the cable clamps — surfaces a flat brush or rag can’t reach properly.
You also need a wrench or socket to loosen the cable clamps — typically 10mm on most vehicles. Safety glasses are worth wearing. Gloves protect your hands from battery acid residue. A rag for wiping and drying. That’s it.

How to Clean Battery Terminals — Step by Step
Step 1: Turn the engine off. Make sure everything is fully powered down before touching the battery.
Step 2: Disconnect the negative cable first. Always negative first — this is critical. Disconnecting positive first risks creating a short circuit if your wrench contacts the chassis while still connected to the positive terminal. Loosen the clamp bolt and wiggle the cable off the terminal. Move it away from the battery so it can’t accidentally contact the terminal.
Step 3: Disconnect the positive cable. Same process — loosen, wiggle off, move clear.
Step 4: Inspect both terminals and cable ends. Note where corrosion is heaviest. White or light gray corrosion is typical. Blue-green corrosion indicates copper sulfate from the cable end reacting with the battery acid — common on older cables. Heavy corrosion that extends far up the cable insulation suggests the cable itself may need replacement.
Step 5: Spray battery cleaner on both terminal posts and both cable clamp interiors. Spray generously and watch the color change — the acid indicator in quality cleaners like CRC Battery Cleaner turns yellow or red wherever acid is present. Let it foam and work for 30–60 seconds.
Step 6: Scrub the terminal posts with the post brush. The post brush in a terminal brush kit fits around the round post and scrubs all surfaces simultaneously. Work until the lead surface looks clean and slightly shiny — gray, not white or blue-green.
Step 7: Scrub the inside of both cable clamps with the clamp brush. This is the step most people skip — and it’s where half the resistance lives. The cable clamp brush fits inside the ring of the clamp and scrubs the curved interior surface where metal-to-metal contact actually happens. Clean clamp interiors look bright and metallic, not dull or discolored.
Step 8: Rinse with a small amount of water. A splash from a water bottle is sufficient — you’re just rinsing away the loosened deposits and neutralized acid residue. Don’t soak the battery or surrounding components.
Step 9: Dry thoroughly. A clean rag works fine. Make sure the terminal surfaces and cable clamp interiors are dry before reconnecting — moisture under the clamp accelerates future corrosion.
Step 10: Apply anti-corrosion protection. Before reconnecting, slide an anti-corrosion washer over each terminal post if your brush kit includes them. Apply a thin coat of dielectric grease or battery terminal protector spray over the connection after reassembly.
Step 11: Reconnect positive first, then negative. Opposite order from disconnection. Tighten the clamp bolts until snug — the clamp should not rotate on the terminal when you try to twist it by hand.
How to Know If Your Terminals Are Actually Clean
The terminal posts should look like bare lead — a matte gray color with no white, blue, or green deposits visible anywhere on the post surface. The inside of the cable clamps should look similarly clean and metallic. If you can see remaining discoloration after scrubbing, spray again and scrub more — the brush should be removing material with each pass.
A fully clean connection makes an immediate difference you can often feel — the car cranks faster, starts more confidently, and electrical systems that were sluggish respond normally. If you have a digital multimeter, you can measure voltage drop across the connection before and after cleaning — a good connection shows less than 0.1 volt drop under load.
How to Slow Corrosion From Coming Back
Corrosion forms because hydrogen gas released during battery charging reacts with the copper in the cable and the sulfuric acid vapor around the battery. You can’t eliminate it entirely — but you can slow it significantly.
Anti-corrosion washers are felt discs treated with a corrosion-inhibiting compound. They sit between the terminal post and the cable clamp after cleaning and dramatically slow future buildup. They’re included in quality terminal brush kits and cost almost nothing separately.
Dielectric grease applied over the connection after assembly seals the terminal from the atmosphere and slows the oxidation reaction. Apply a thin coat over the entire connection — terminal, clamp, and cable end — after reconnecting.
Battery terminal protector spray — a red or green felt-like coating — sprays directly onto the terminals and provides similar protection to dielectric grease in a more convenient application format.
Fixing the underlying cause if corrosion returns rapidly. Heavy recurring corrosion on the positive terminal suggests the battery is being overcharged — check charging voltage. Heavy corrosion on the negative terminal suggests undercharging or a battery that’s going bad. Corrosion that comes back within weeks of cleaning despite protectant application usually means the battery itself is failing and venting more gas than a healthy battery should.
When Cleaning Isn’t Enough — Cable Replacement
Corrosion that has migrated far up the cable insulation — 6 inches or more from the terminal — indicates the cable itself is corroding internally under the insulation. Cleaning the terminal end doesn’t fix corrosion that’s inside the cable. A cable that’s corroded internally has increased resistance throughout its length and should be replaced.
Signs a cable needs replacement beyond cleaning: the insulation feels stiff and cracked near the terminal. The cable strands visible at the terminal end are green or heavily corroded. Cleaning the terminal end resolves the corrosion but electrical problems persist. Voltage drop across the cable measured with a multimeter is higher than 0.2 volts under load.
Battery cables are inexpensive — typically $15–$40 for the negative, $20–$60 for the positive depending on the vehicle — and replacement is a straightforward job on most vehicles.
Connecting Battery Maintenance to Overall Electrical Health
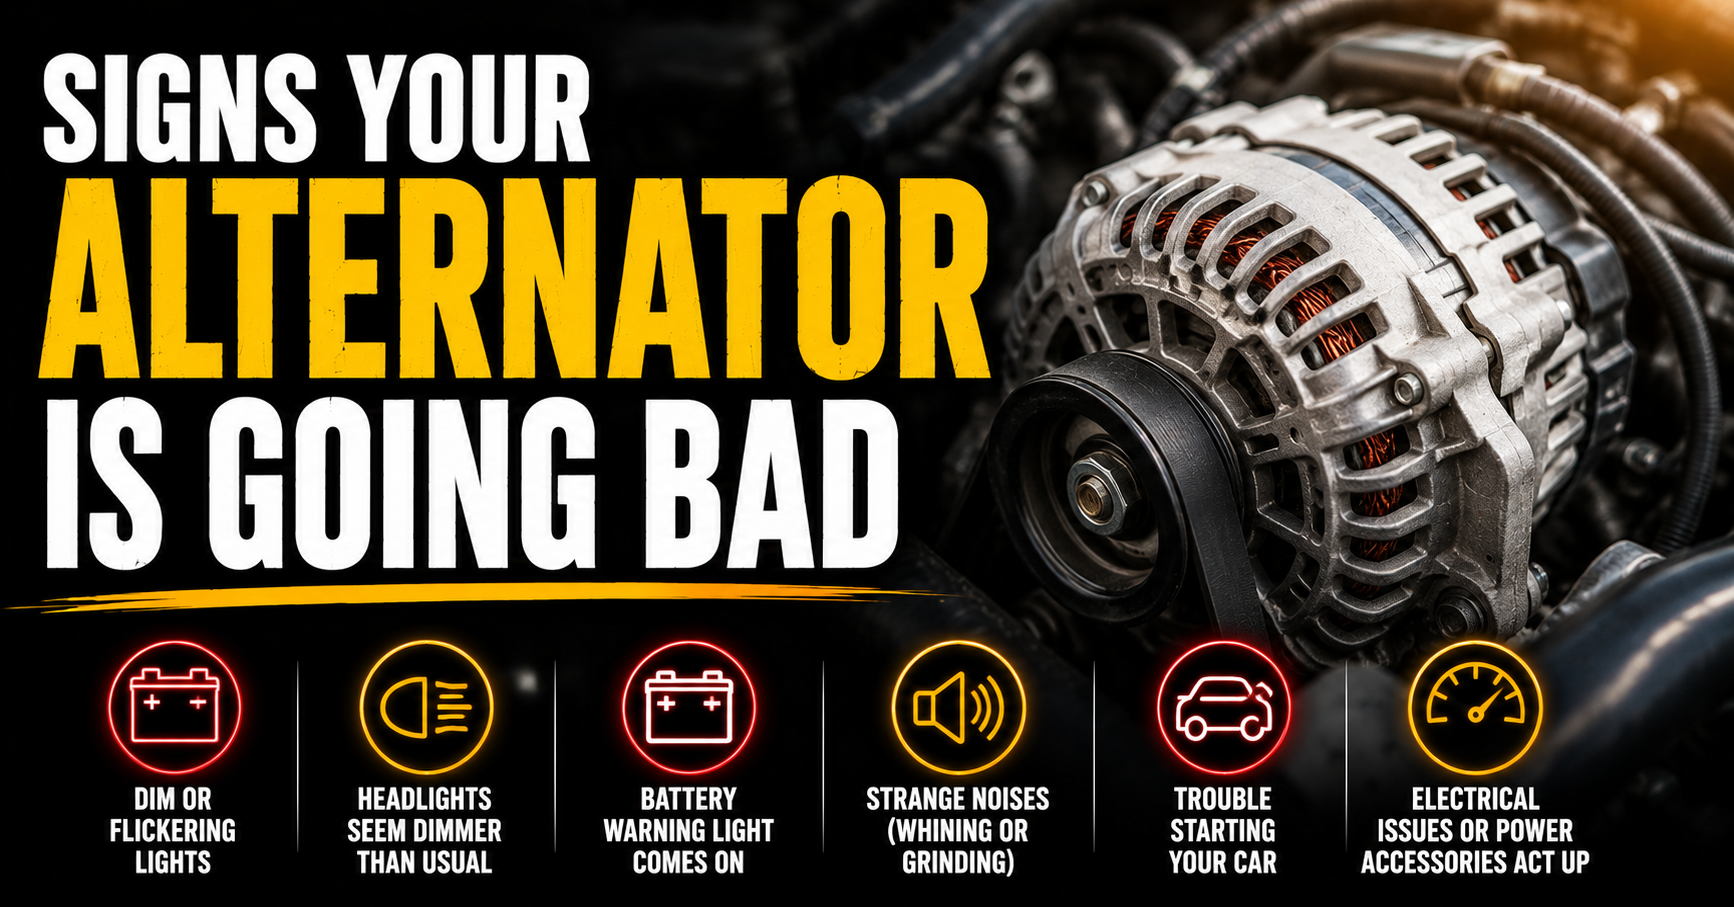
Clean battery terminals are the foundation of a healthy electrical system. Before diagnosing an alternator, a starter, or any other electrical component, clean the terminals. Many alternator undercharging diagnoses have turned out to be nothing more than a corroded negative terminal creating enough resistance to produce a false low-voltage reading. Many starter click diagnoses have resolved with nothing more than clean cable connections delivering full current to the solenoid.
If your car is showing any electrical symptoms — slow cranking, clicking when starting, dimming lights, electrical gremlins — clean the terminals first. It takes ten minutes and costs under $20. If the problem persists after clean connections, then it’s time to start testing individual components with a battery tester and multimeter.
See our related guides on signs your alternator is failing, how long car batteries last, and what it means when your car clicks but won’t start to build a complete picture of your electrical system health.
Frequently Asked Questions
Can I use baking soda and water instead of battery cleaner spray?
Yes — baking soda neutralizes battery acid just as effectively as commercial cleaner. Mix a tablespoon of baking soda with a cup of water, pour it over the terminals, let it fizz, then scrub and rinse. The advantage of dedicated battery cleaner spray is the acid indicator that shows you exactly where acid is present and whether it’s fully neutralized — plus the spray delivery is faster and less messy than mixing a solution.
How often should I clean my battery terminals?
Inspect them every 6 months. Clean when you see visible buildup — don’t wait for heavy corrosion to form. Light corrosion caught early cleans in two minutes. Heavy corrosion that’s been building for a year takes significantly more work and may have already caused damage to the cable ends.
Is it safe to clean battery terminals without disconnecting them?
Technically possible but not recommended. Working around a connected battery risks accidental shorts if your tools contact both terminals simultaneously. The two minutes it takes to disconnect the cables is worth the safety margin.
Why does my negative terminal corrode more than my positive?
Heavy negative terminal corrosion typically indicates an undercharging condition — the battery is working harder to supply current than it’s receiving in recharge, producing more off-gassing at the negative terminal. Heavy positive terminal corrosion is more commonly associated with overcharging. Either pattern of heavy recurring corrosion is worth investigating beyond just cleaning.
Will cleaning the terminals reset my car’s computer?
Disconnecting the battery clears the ECU’s short-term adaptive memory — fuel trim values, idle relearn data, and similar parameters that the computer relearns over a few drive cycles. It also resets your radio presets and power window auto-up/down calibration on some vehicles. These all return to normal within a few drives. It does not clear stored diagnostic trouble codes on most modern vehicles — those require an OBD2 scanner to clear.
About the Author: Ryan Fowler
Ryan is a former fleet mechanic who spent twelve years maintaining commercial vehicles before transitioning to writing about automotive issues for regular drivers. He’s worked on everything from economy sedans to full-size diesel trucks and has a particular obsession with electrical gremlins that make no sense until suddenly they do. Ryan contributes to WhyIsMyCar.com because most car content online is either too technical or too vague — he aims for the middle ground where people actually learn something.
As an Amazon Associate we earn from qualifying purchases through some links in our articles. Learn more.